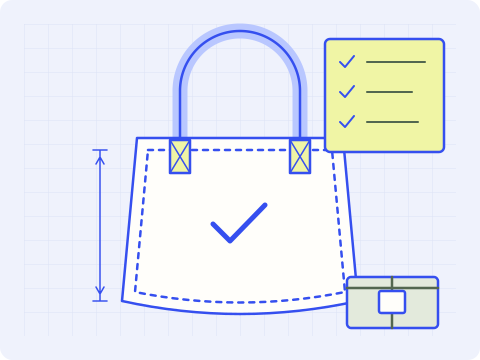
How does a flat piece of fabric become a bag? Follow the pattern, materials, cutting, printing, sewing and final checks that turn an idea into an everyday object.
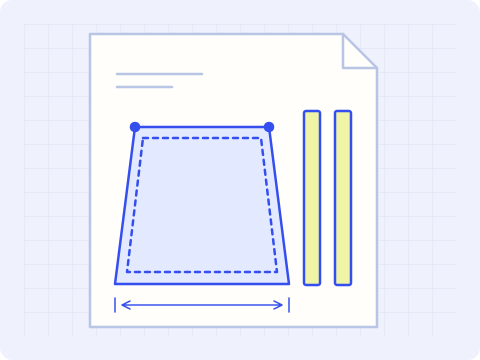
Who will carry the bag, and what goes inside? These questions guide the dimensions and shape. A pattern turns that shape into flat pieces that can be cut and joined.
Define the body, handles, pockets and openings.
Allow room for seams and turned edges.
PROCESS STUDY02 / 06
Construction illustration
Stage 02 of 06
Choose the feel, and the function.
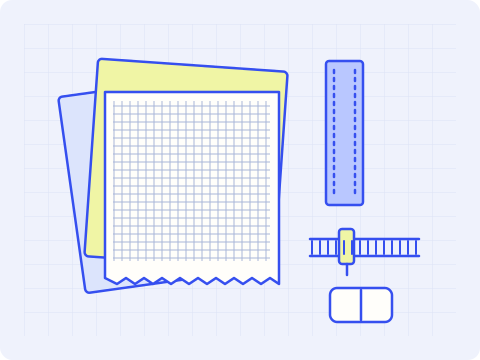
Fabric affects how a bag feels, folds and holds its shape. The lining, webbing, zips and other trims need to work with the body fabric and the way the bag will be used.
Compare the body fabric, lining and any reinforcement.
Match straps, zips and hardware to the intended use.
PROCESS STUDY03 / 06
Construction illustration
Stage 03 of 06
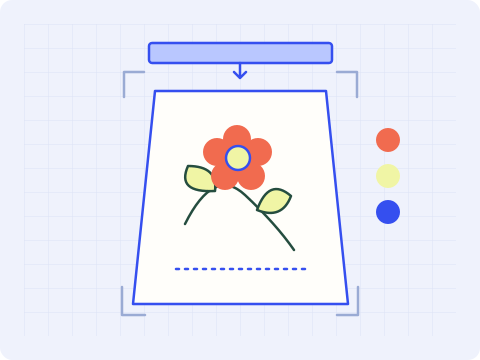
Flat fabric becomes the pieces.
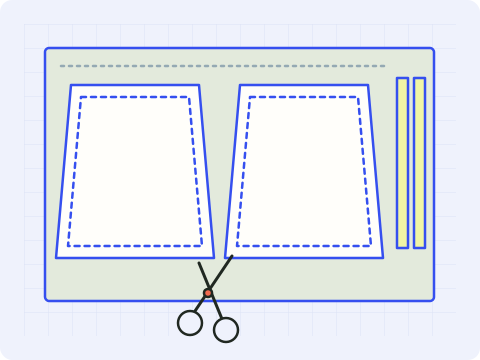
The pattern pieces are arranged on the fabric, with attention to direction, usable area and any print that needs to line up. The cut pieces are then grouped for the following operations.
Check fabric direction, print alignment and reference marks.
Keep matching pieces together for assembly.
PROCESS STUDY04 / 06
Construction illustration
Stage 04 of 06
Give the surface its personality.
A print or brand mark changes the character of the bag. Screen printing, digital printing and transfer processes suit different materials and artwork; the choice is checked with a sample.
Choose the printing method for the fabric and artwork.
Check the placement, colour and result on a sample.
PROCESS STUDY05 / 06
Construction illustration
Stage 05 of 06
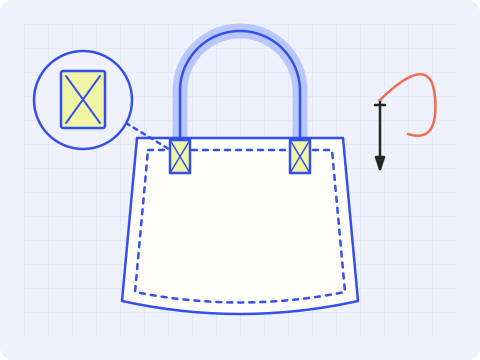
Piece by piece, it becomes a bag.
The panels, base, pockets and handles come together through sewing. The exact assembly order depends on the construction, including the lining, closures and any folding structure.
Join the panels, pockets, handles and closures in sequence.
Finish the seams and reinforce stress points as specified.
PROCESS STUDY06 / 06
Construction illustration
Stage 06 of 06
Check the details. Prepare the handover.
The finished bag is checked against the agreed sample and specification. Loose threads are trimmed, the appearance and functions are reviewed, and the bag is folded and packed for the project.
Compare dimensions, seams and hardware with the agreed sample.
Tidy, fold and pack to the agreed requirements.
This guide shows a common fabric-bag workflow. The sequence and construction vary with the bag, fabric and printing method.
NOW, YOUR IDEA
Which bag would you like to make?
Choose a shape from the collection, or tell us about your own design. We can start with the use, materials and details.